Shoot more thanyou need.
Value created for the team
Gave the edit real options instead of one viable take, so more usable content came out of the same booked shoot time.
Achievement
Moved from relying on one viable take to deliberately capturing edit-safe coverage — across planned shoots, a live collaboration dinner and a shoot with the owners and chefs.
I started this on Day 3 with two cameras and no real idea what I was doing. Seven weeks later I was setting lights for a shoot with the owners and chefs. The change was not in the equipment — it was in what I was trying to capture.
How the work developed
Day 3 — Learning the controls
Camera settings, lighting, angles and modelling for a food shoot. Two cameras were used on the same scene so that if one missed a moment, the other still had it. That was my first real lesson in redundancy.
Week 2 — Settings meet the clock
Filming Casa Mori's new menu, I saw that food which looks good in the room can still read dark, overexposed or flat through the lens. Reviewing footage and adjusting mid-shoot mattered, because the dish only stays presentable for a short window.
Week 3 — The edit talks back
Editing exposed what filming had missed: clips too short, shaky, similar framing across takes, nothing to cut on. I started filming for the edit rather than for the moment.
Week 6 — One-take environments
At the Il Toro x Hashida collaboration dinner I used the DJI Pocket 3 through a live event. Nothing could be reshot, so the skill became anticipation: reading the room and deciding what was about to be worth capturing.
Week 7 — Filming people, not plates
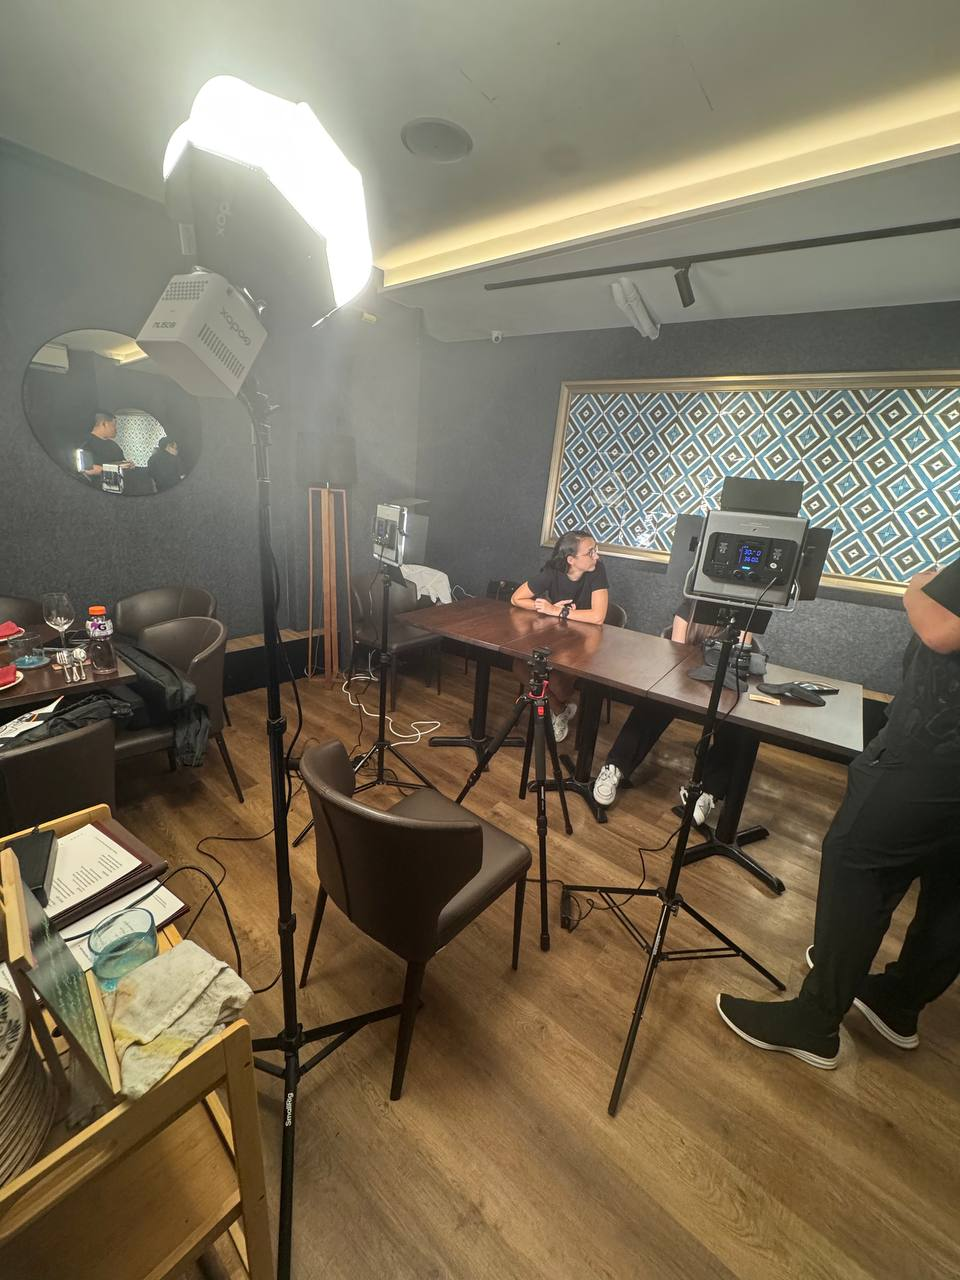
On the owners and chefs shoot I set lighting, positioned the camera and tested angles. Food needs to look appetising; a person needs to look natural and still represent the restaurant. Small changes in camera height and distance made a shot feel formal, personal or conversational.
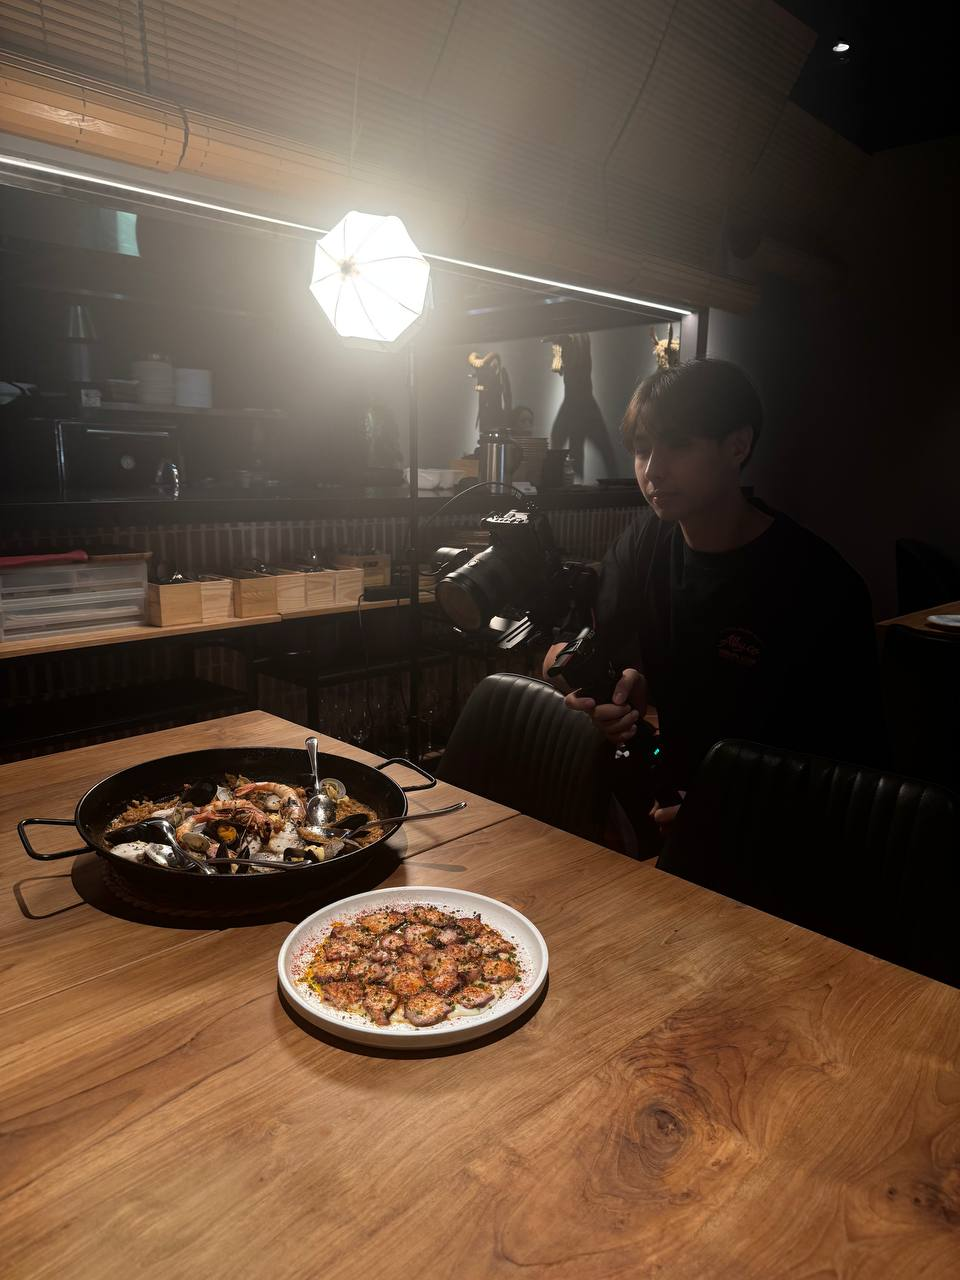
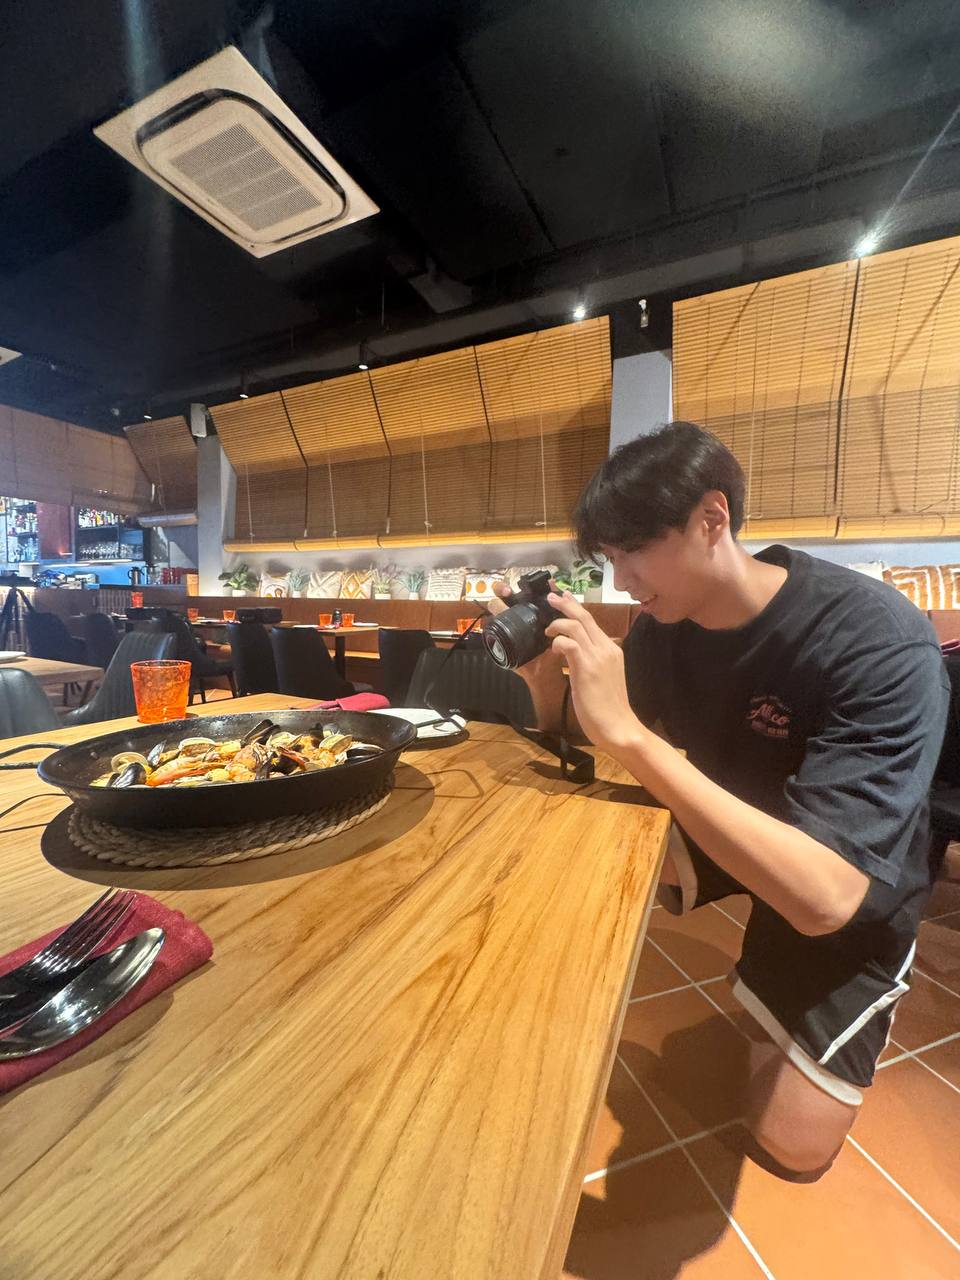
Coverage is decided before the plate leaves the pass — not while it cools.
Filming and editing are not separate jobs.
Every decision made on set narrows or widens what is possible three days later in the edit. Once I understood that, I stopped judging a shoot by how it felt and started judging it by how many usable options it produced.
A real production decision
On Day 3 we tested how the same dish behaved under different light. Brighter, cooler light made food read fresh, casual and everyday. Warmer, dimmer light made the same plate feel intimate and premium. That is not a preference — it is a positioning decision made with a lamp.
So which light is correct?
Fits Chicco, where the pricing is approachable, the room is brightly lit and the audience includes students, families and younger working adults. Warm, dim footage would promise a formality the restaurant deliberately does not have.
Fits Il Toro and Cenzo, where the woodfire and the plating carry the experience. Bright, flat footage would strip out the exact thing the customer is paying for.
If one house style were applied to all of them, the content would still look competent and would still be wrong: it would set an expectation the room does not meet. The question changed from 'can I capture this?' to 'how should this brand be captured?'
My coverage routine now
- Hero shot
- Alternative angle
- Detail
- Longer take
- Cutaway
- Backup
Evidence from the internship
The specific moments this case study is built on.
We ran a food shoot with two cameras, experimented with lighting and also modelled in the frames ourselves.
I treated it as a technical exercise — get the exposure right, get a clean frame, move on.
Watching how a model's hand near the plate changed how natural the shot felt, I realised I was not filming a dish, I was building a mood. The technical settings were the vocabulary, not the point.
I edited content for different restaurants and found the same footage could not be cut the same way for each one — pacing, music, transitions and colour all had to shift.
My instinct was to reuse the edit style that had worked best previously, because it was fast and I knew it looked good.
Reusing it flattened the brands into one voice. I began deciding the pacing and mood from the brand brief first, and only then choosing clips — which also changed what I filmed the following week.
I shot a live collaboration dinner on the DJI Pocket 3, where most moments happened exactly once.
I initially waited for moments to look ready before recording, the way I would on a planned shoot.
I missed things. I switched to recording earlier and longer and accepting more unusable material, because in an event the cost of over-capturing is storage and the cost of under-capturing is a moment that no longer exists.
I set up lighting and tested camera heights and distances while filming the people behind the restaurants.
I applied my food-shoot habits: flattering light, tight framing, control everything.
Tight, controlled framing made people look posed rather than credible. I learnt that with people the goal is comfort on camera, and that the setup has to be finished before they sit down, not adjusted around them.
The trade-off
What pulled against what
Coverage versus operational time. A kitchen or dining room can only be occupied for so long, and a plated dish has a short window before it stops looking fresh.
Why the obvious answer was not enough
Footage that looks correct on set can be unusable in an edit, and footage that is technically perfect can still be wrong for the brand it represents.
Why I chose this approach
Decide the shot list and the brand mood before the food arrives, then over-capture within that plan rather than improvising volume.
Going deeper
Coverage is not the same as volume
Shooting more only helps when the extra material is genuinely different — another angle, another distance, a longer hold. Ten near-identical takes give an editor one option, not ten. That distinction is what changed between Week 2 and Week 3.
What preparation actually buys
Testing camera and lighting on an empty plate before the dish arrives sounds like a small process note. In practice it converts the most pressured minutes of a shoot — the ones where the food is at its best — from setup time into filming time.
The obvious answer
Learn the camera, light the food well, and the content will be good.
What was more complicated
Footage that looks correct on set can be unusable in an edit, and footage that is technically perfect can still be wrong for the brand it represents.
What I would test nextProposed next test
I would follow specific clips through to publication and check which types of coverage were actually used, so the coverage plan is shaped by evidence instead of by caution.
What I contributed
Gave the edit real options instead of one viable take, so more usable content came out of the same booked shoot time.
I filmed, lit and edited content across planned shoots, a live collaboration event and a shoot with the owners and chefs, and deliberately captured additional angles and takes so that the edit had options rather than a single viable version of each scene.
Decision rules I would carry forward
If the shot cannot be described as hook, hero, detail or safety before the food leaves the pass, it does not get filmed.
Storyboard the opening three seconds and the closing frame for the next two shoots, then compare the finished edits against shoots planned only as a dish list.
Lighting and settings are tested on a stand-in object; the fresh-food window is only ever spent filming.
Time-stamp the next shoot to measure how many minutes of the plated window go to filming versus adjusting, and hold the ratio above 80 per cent.
Every angle captured gets logged against whether it survived the final cut.
Keep a one-line coverage log across the next ten edits and cut any angle with a zero survival rate from the standard plan.
Move from more footage to more intentional footage: hero, detail, transition, backup — each tied to a platform, an audience and a purpose.